Monday, July 31, 2017

Media stand part 6: change of plans

Whelp, I said it enough times that it had to come true.

I wasn't crazy about how tall the stand was with the pieces put together, so instead of putting it on the initial foundation I broke it down to just one rectangle for the stand to sit on with it closer to the ground. I had to get the wife's permission of course, and she said to go for it.

I'm hoping it gives the shelves a floating look without leaving any open space for crumbs or toys to clutter up. Of course, getting to that point wasn't without issues. I had to cut two sides to get it smaller than the actual shelves, and trimmed both sides at a point where each had one of the kreg holes exposed. Oops. But it was an easy fix; I used a kreg plug to fill the hole before I re-painted. A little glue and a a quick saw worked just fine.


Clamped down for glue to set, with brackets as well

I was still thinking drawers on the now bottom shelf, and picked up some plywood to make the boxes out of and a 6' stretch of 1x12 board to put across the front when they're ready. Felt like a good time to try out the table saw too, and holy crap am I in love.


That took about 3 minutes. 3 loud, dusty minutes. But everything stayed straight, and once I got the hang of feeding things through it was easy work. Lining up the drawer slides and sizing the actual drawers is another story.
Even a simple box gave me enough trouble getting it sized properly for the drawer slides I was wondering if they were worth the effort at this point. But I dialed it in eventually, and it's starting to look like actual furniture at this point. I can see a finished version of this project in my head and I like it, I just have to be patient on the way there.

Friday, July 28, 2017

Anniversary breakfast tray

The wife thought I might have gone a little overboard for her anniversary present last year, cajoling my way into an expired discount on an outdoor rocker that she had had her eye on for some time. I'm going a little smaller this year, and much cheaper. But hopefully with more thought in it, which will help make up the differences.

This year she's getting a breakfast-in-bed tray, even though we rarely have the morning to ourselves to have a quiet moment. But maybe this will help be the impetus for more moments like that.

Right off the bat I started with a cheat; instead of making my own tray from scratch I picked up a cheap serving tray and put legs on it. I'm still in the middle of my media stand build which is eating up a lot of my time and space so a shortcut made a lot of sense. But just b/c it was cheap doesn't mean it wasn't nice looking, and I will admit probably much nicer than a tray I would have put together myself. Hopefully this helps get both projects done sooner rather than later. 


For a second shortcut, instead of getting new 1x2s from HD I trimmed a scrap from one of the 1x10s into even sections that should work for the legs. That table saw is freaking tremendous.

The legs need to be collapsible for storage, but tall and sturdy enough to hold a breakfast over someone's lap when swung out. So I went for a hinged design, with the tops cut at a 10 degree angle so they'll swing out when down, but still fold up relatively close when not in use. I'm an idiot though, and didn't buy enough hinges the first time around b/c I can't count to four apparently. 


With all that done, I left it bare but lacquered it. At this point the wife came down while I was working on it and saw it, so I didn't have to worry about keeping it hidden while stuff was drying. Kind of a bummer but a lot easier to work around at least.

Now I just have to be able to get up early enough to make her a coffee or something this weekend for our anniversary. That might be the hardest part of the entire process.

Wednesday, July 26, 2017

media stand part 5: getting the top on and finished

After getting a good start on staining shelves I got side tracked on other stuff and kind of stalled out getting the rest of the stand together and stained. Winning the tools gave me even more to do while the stand sat around but it's rounding into shape now.

With the interior of the cabinet stained and together, I finished doweling the shelf in and added some brackets to the back. Just the dowels felt sturdy enough but I will admit those dado's were pretty terrible and I don't trust my joinery skills to not add more support. Especially if I can hide it.
Took some slight planing to get these flush on the backside.

Since I'm building this in two separate pieces, I think brackets might also be the best way to attach them once things are finally ready. The plan could always change though; in fact it usually does.
Grabbed a pull saw on clearance at Menards. Worth it.
This was actually backwards, I lined up all the stained edges after this.

With those on and the dowels cleaned up I could line up the top shelf. These are the cleanest looking boards of the entire piece, so I want them to look good on top. It was a pretty good fit just sitting on the top, but I wanted it a little tighter so I used the shelf brackets to hold it down. There were still sanding marks from the hand-sander I took down with finer grit paper without the power tools. Too bad I didn't win some sanding cards too. Oh well.
View from underneath. I chiseled out a spot for the bracket to sit.
At that point I was tired of squatting, so I put the shelves on the base to raise the top to a manageable height while I finished sanding and got the stain on. I needed to take some off the edges on one side of the miter as well, and even though it's a little uneven it's sanded to a square corner at least. Once the stain was on it's not very noticeable, and I think we're ready to add the poly finish at this point. 

Looking level at least.
Whew, that is bigger than what was in my head.
I'm pretty happy with where things are at right now. I don't look forward to carrying this upstairs when it's ready, but I think keeping it in two pieces and attaching the two in the living room will help a little with that. If I keep it in two pieces I mean. Everything was way taller than I was thinking when I had it all together, so I might make some changes. Waiting for coats of poly to dry will give me plenty of time to figure that out, and the drawers too.

Monday, July 24, 2017

media stand part 4: paint and stain

So there was a preview of this step in the table saw post, but things are starting to come together with the media stand and it's about time to start working on the finish.

With most of the individual pieces together, I thought I would try to stain/paint them individually before assembling them into a completed stand. I wanted to avoid any difficulties around the joints by having everything a uniform color before putting it together.

At least the pieces still fit on the bench and I'm not stooping all day.

Worked well enough with the middle shelf. Doing that and the inside shelves separately meant they looked pretty good put back together. I did see some sanding patterns from using the hand sander that I'll need to clean up before I stain the outside, but I had to wait on that while I finished the dowel joints keeping the shelf to the sides.
Boy I wish I knew what I was doing sometimes.
 
While I waited, I got a quick coat of the metallic paint I'll be using for the bottom on some brackets I had picked up just in case. That way they'll blend in better than they would as plain silver. The T's will be on the back anyway but hopefully this means I'll be able to walk by and never notice them.

Painting the bottom was a little rougher. It's a big enough part that I didn't want to spray paint at night with the garage door closed, but also big enough that one can isn't quite getting me the coverage I was looking for, so right now it's waiting until I get another can. It'll get done. Eventually.Thankfully, I'm happy with the finish thus far and at least putting stain on didn't make any mistakes more visible. Maybe this will come together after all.

Friday, July 21, 2017

Grilled pizza break

It can't be all woodwork all the time. Sometimes there's grill work, sometimes there's pizza. At the best of times, there can be all three. Today felt like it should be one of those times.

I've gotten a pretty good handle on a papa john's copy dough, and it even makes for a decent base on making your own frozen pizzas. I should post on that too sometime. But today I was more interested in seeing if it would hold up as well on the grill. Sometimes it's just too hot to have your oven running at 515 degrees for any amount of time. Today is one of those times, but I'm a little dubious about pizza on the grill. Lunch for myself is a lot less risky to try out stuff vs dinner for everyone.

This dough is pretty sturdy:

1 packet fast-rising yeast (2 1/4 tps)
2 Tbs sugar
2 cups warm water
Mix and proof 5 minutes. Then add:
1/2 tsp garlic salt
2 1/2 cups bread flour
2 Tbs oil
Mix until dough pulls away from sides of mixer.

I made it as soon as I got home from dropping the kids off at camp, which gave it about 4 hours to rise while I got a run in and then worked on the media stand. I took a break around the 3-hour mark to punch it down and let it rise again for that last hour. It made for what I would consider a great looking dough if I was using the pizza stone.

Prep work can be important when you're on the grill, so I got everything ready while the charcoal lit. This dough is pretty hearty so I was sure it could handle three ingredients without any issue.
There was also oil, sauce, and cheese ready to go.

Once things were lit, on to the grill it went. This was mistake number one. I should have moved the coals for more indirect heat. But it cooked up well before I flipped it and put the toppings on.
Raw dough on, only 3 or 4 minutes I think.
Notice the browns already on the outer crust after flipping it
No time for pictures when you're working with high heats, but things looked really good at this point. Unfortunately, the direct heat ended up charring the bottom almost to the point of being inedible. I'm not a huge fan of wood-fired crust anyway, and this was a deep black char across the bottom of the crust. Too bad.

But it was still a decent lunch, and I learned some lessons in case we ever want pizza but it's too hot to turn the oven on. I'd try it again at least. God I love these Fridays off.

Thursday, July 20, 2017

I don't believe what I just saw

Turns out, the people in the community surrounding my community college thought it might be a bad idea to lay off half the administrative staff before the fall semester started. So my layoff is cancelled. For now. Doesn't mean I'm not still looking, and it doesn't mean I feel any more secure about my job than I did three weeks ago. It's been a rough couple of weeks. So that's why I felt so good about a recent string of good luck I've had.

Despite getting the reprieve from getting laid off, I've still got a lot of resumes out there and I'm anxiously awaiting some responses. The last time I was looking for work I averaged a call-back for 1 out of about 10 applications. Well I hit 20 applications the other day and I haven't heard back from anyone yet. So I thought why not check my spam to see if I've missed anything, even though it's probably a waste of time.

Turns out it wasn't a waste. I didn't have any job responses in there, but I did have a note about winning some ryobi power tools, and when I opened it it actually looked like it was real, with a link to a blog post with me as the winner there at the bottom. Well holy shit. The email was a couple of days old, so I fired off a response and tried to patiently wait for a response.

Which turned into waiting patiently for confirmation of shipping on my choices, which seemed to last forever. But I eventually did get two new tools showing up on my porch this week! Say hello to my new table saw and router.

I've had a fair share of luck good and bad in my life, but this one came around at just the right time. Part of me thinks karma has a little to do with it, with this happening just when I was starting to panic about a job. Plus, I had just posted our landscaping pond as a freebie on craigslist after pulling it out of the ground. That's a good time to win a contest.
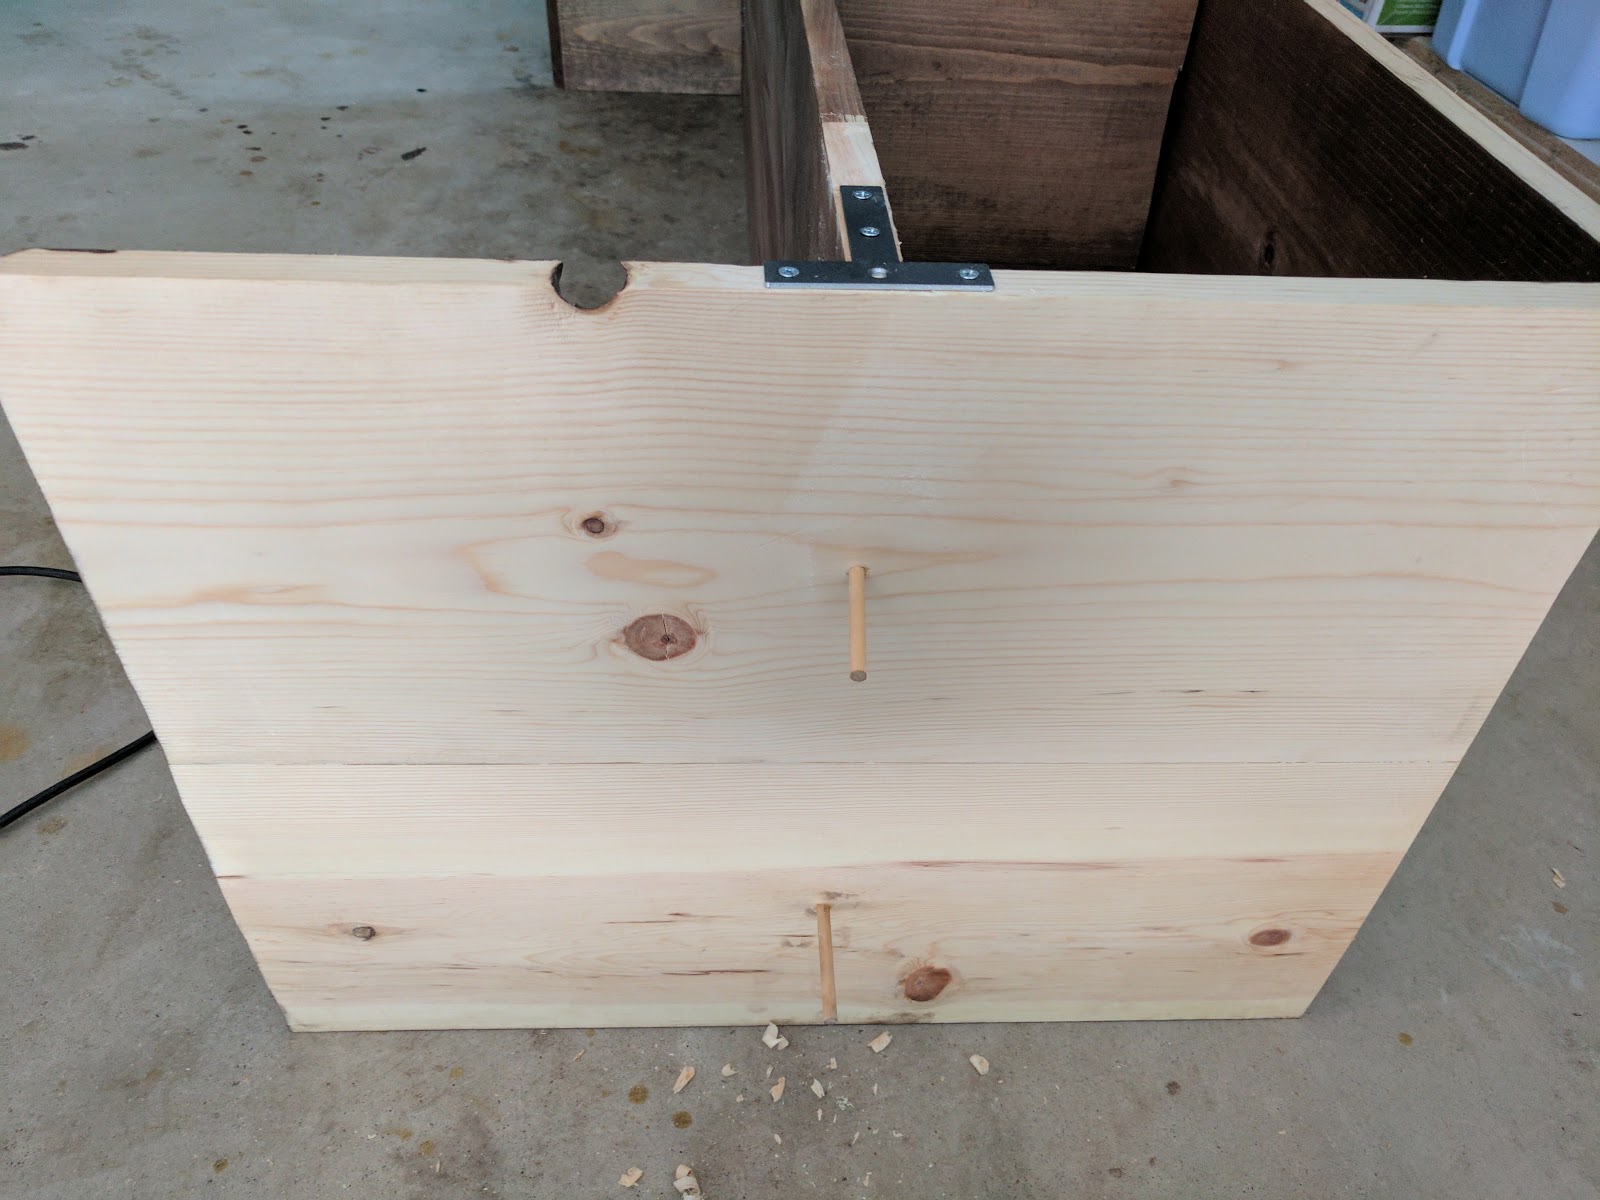
A half-finished media stand made for a decent extra shelf but also made it just about impossible to actually reach any tools I needed to finish putting this together. My own fault for making it so damn big. Whoops.

These probably would have really helped with the media stand build, but what can you do. It's clearly coming along pretty well without one and the shop is kind of a mess right now. Kind of like my brain. B/c there have been a couple of ideas rattling around in there lately where I'd wondered if a table saw or router would be needed, so I think my to-do list just got quite a bit longer. There's a bench at the in-laws that needs refurbishing, a painter's canvas that would be easy to put together now, and who knows what else I'm going to come up with. I just have to figure out where this is going to fit. Good problem to have though. This has definitely put a much-needed spring in my step this week.

Tuesday, July 18, 2017

Media stand part 3: foundation

With the shelves relatively together it's time to build the bottom framing. This is where things got expensive. So far I'd been working with standard quality 1x10's from Menards and trying to make them look as nice as possible with planing and sanding. For the bottom I skipped that step and picked up 4x$10 8-foot 2x2 from HD.

I think it cost me less than that to build everything else so far, but it was probably worth the extra expense. Framing up the bottom was the part of the process I was least worried about. Accurate measurements and cuts on square wood should come together pretty simply.


And that was pretty much the case. It's always a good feeling when a part of a project goes as planned, even though it's kind of embarrassing how infrequently that seems to be the case these days...

This was by far the quickest part of the process so far. I'm thinking I could probably fill in the butt joints before I prime and paint so hopefully I can find the time. That seems to be at a premium these days.

Saturday, July 15, 2017

Media stand, part 2: shelves

My not knowing what I'm doing is going quite well, thank you.

I cut one of my panels at a 45 degree angle to give me a top and one side panel. With a 45 degree trim to the other side and another cut to my second set of joined boards, I had a top and two side panels. The left over second set of boards was also long enough to use as a middle shelf. Math is fun sometimes.


Next step, I tried to chisel out a dado for a middle shelf. It's not clean, but seems to be doing the job. I added some 1/4" dowels to help hold things in place before cutting the drawer dividers that will also support the middle shelf while I finish getting pieces together.
That would have been a lot easier with a table saw.

The drawer supports are pretty horribly cut as well, but as long as I get them closed up no one will ever see them.
The dividers are on scrap b/c I wanted the last set of boards for the bottom to end in butt joints on the inside of the side panels, so they had to be 3/4" off the ground when attached to the shelf. Once the bottom was cut to the right size I kregged it to the sides from underneath. With the kregs, the dividers, and dowels things are together enough even without any glue I can pick everything up as one piece. I think we're in good shape, but I'm still going to add some brackets on the back side when we're finally done for extra support.
Ooooo-weeeee, look at those shavings.
I'm not sure about how clean the miter is going to look at first since some of these boards cup pretty terribly, but the measurements track and I can deal with that when I have to. I'll glue the dowels in and attach the brackets before that so I can set the top on by itself so I can fine tune it as necessary.

Whew. That's a pretty short post for what was A LOT of project time. It's getting damn heavy to keep lifting but it's looking pretty good in the shop right now.

Thursday, July 13, 2017

this summer's big project: media stand

Okay, time to move onto this summer's big project. Here's our current tv stand:

It's probably over 15 years old, and when we bought it to go with a ridiculously massive flatscreen we thought it was temporary. It did the job but it's been through 4 moves by now and 15 years is temporary enough. The kids like to see how much food and crud they can get on it before I yell at them and at this point it's getting to be quite a bit. I think it's time to replace it.

And by replace it, I mean pour over media stand plans for weeks until I find something I like, and then try to do it myself. And that's just what I've been doing. Ultimately I decided to take elements from this, and this, to create something like this:
I should probably look into sketch up at this point.

Again, I have little to no idea what I'm doing most of the time. So I've talked myself into trying a miter joint at the top, and cutting a dado into the sides for the middle shelf. Hopefully I can paint the bottom frame with a good rustoleum and get the metal look from that first stand. We'll see.

A lot of this is trying to do parts of old projects better this time around. I don't like how the console table butt joints look, so I'm trying a miter. Now that I have a bench plane, I can join some 10" boards and make it cleaner than I did with the desk. And that's actually where I started, with a lot of boards from Menards to start framing things up.

I started this while the bench was still in the shop. It's going to be a long build.

I'm not ashamed to say I'm still using my kreg jig a ton, and especially on projects like this. The boy's desk is holding up so far, so why not stick with it if it's still working. Anyway, planing and sanding these boards ate up the rest of my time, but also gave me plenty of time to think about how I want everything to fit together. There's a plan in place, we'll see if it actually works out.

Monday, July 10, 2017

It's just a box, it shouldn't be too complicated.

And yet, I almost didn't find time to finish my housewarming gift in time for it to go on its delivery. Almost.

It cost me not doing a second coat of lacquer, but I thought the box was in good enough shape looking at it last night that I decided to get some of the hardware on. I taped the hinges to the lid so they'd be lined up properly and then messed with making sure the plastic and magnet would both fit and still close. It took some playing around but everything worked.

So this morning I glued the glass on and put some felt on the back and viola, one shadow box. I tested it out with some help in the shop...

and then took it upstairs to see how it looked on the wall. But it looked a little empty, so I added some more friends.


The wife did not approve of that one, and didn't want me to get any ideas about decorating the living room with more of them. Oh well.

But it's on its way to Colorado now, hopefully it's sturdy enough to make it out there while bungied to the backseat of a goldwing. I'm sure it is, and I'm enjoying feeling like I've at least done the social minimum for a family member who's just had a big event happen in his life. Good enough for me.